Welcome to Collection Drawer Co... "Details are not details - they make the product." - Charles Eames


BoxLox™ Instructions
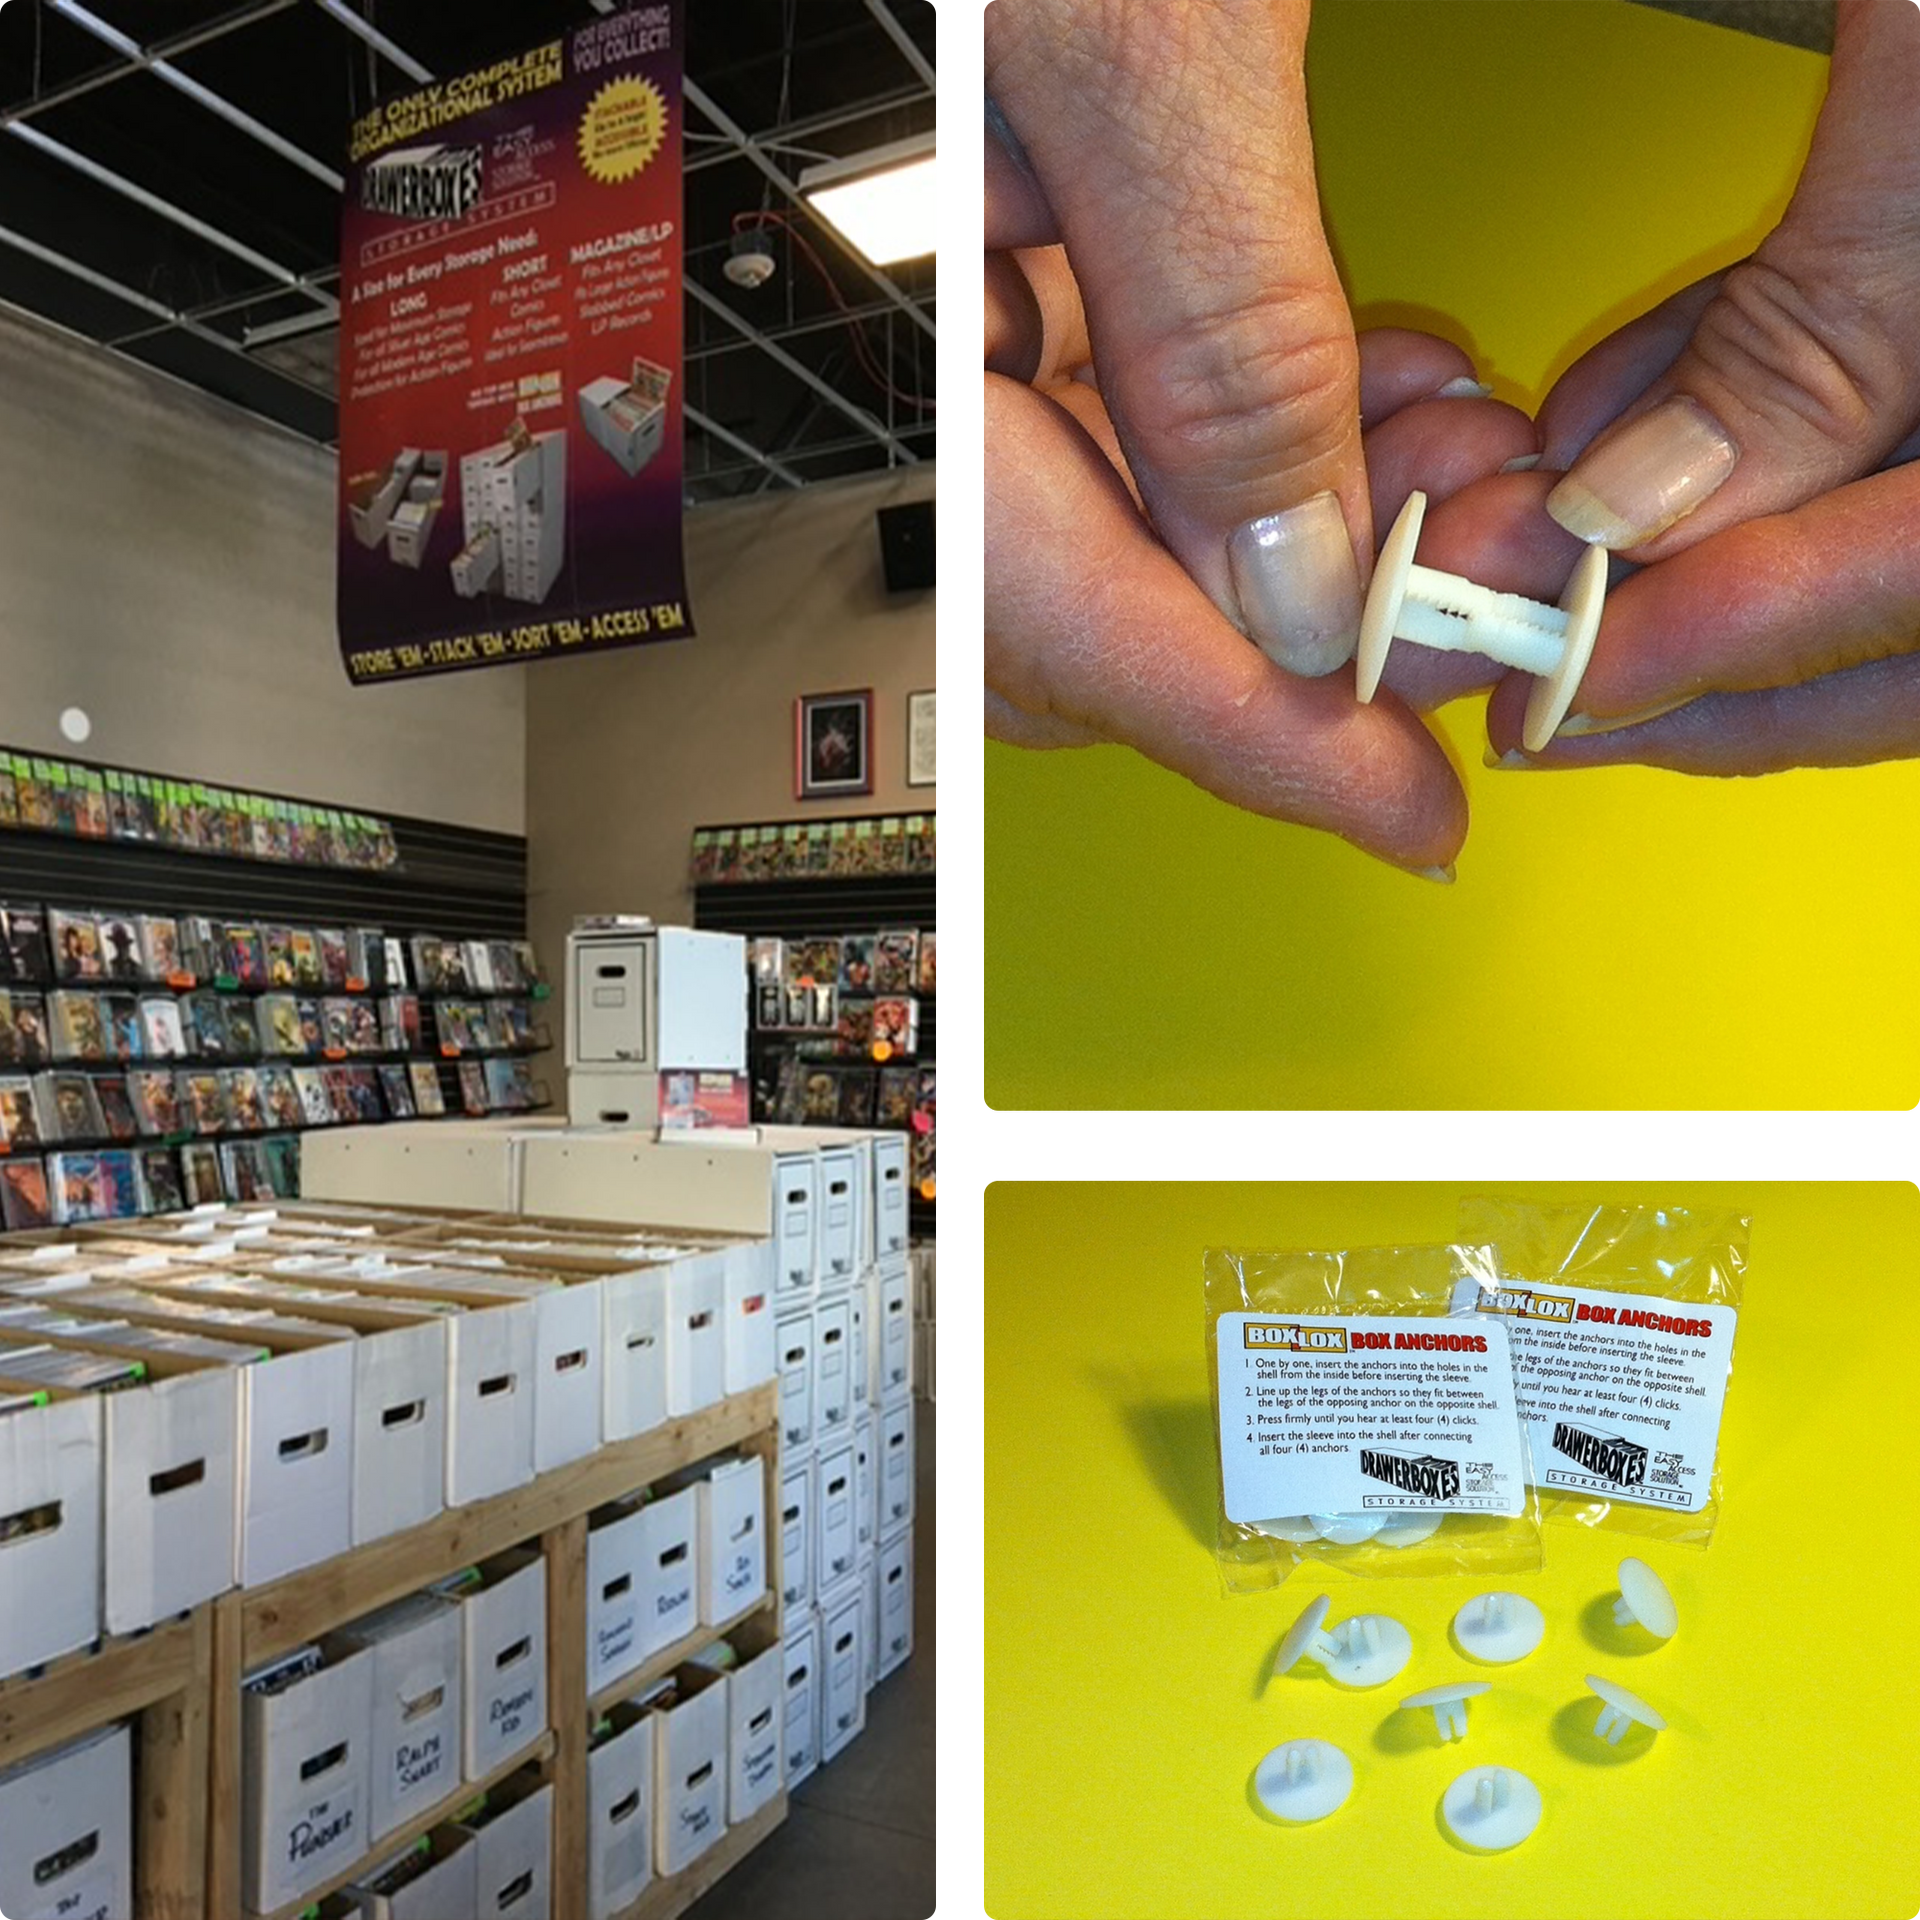
BOXLOX™ BOX ANCHOR INSTALLATIONS INSTRUCTIONS
FOLLOW THESE STEPS BETWEEN STEP #1 AND #2 IN THE DRAWERBOX™ INSTRUCTIONS WHEN INSTALLING THE BOXLOX™ ANCHORS.
To install the BoxLox Anchors, follow these steps BEFORE inserting the support sleeve:
Note that it is easiest to attach the shells in one complete row at a time, and then place the entire row on the stack. Then start on the next row. Always make sure the sides of the shells are lined up over the sides of the shell below it, so all of the inner support sleeves form a column.
Keep in mind that part of the design of the DrawerBoxes relies on the sleeves inside each shell forming a column when stacked on the unit below it. This column transfers the weight to the floor. So it is important that the shells remain lined up above one another. Additionally, because they tie the shells together, they will provide a more rigid column which improves stacking strength and lengthens the life of the shells.
CONNECTING THE MAGAZINE/CGC SIZE TO THE LONG OR SHORT SIZE
Yes. The distance of the pre-punched BoxLox™ acceptance holes in the magazine size match the distance of the holes from the front and rear ends of the other sizes. The only difference is the height of the holes. You can easily drill new holes using the existing holes as a guide:
- Using a ruler draw a vertical line connecting from the center of the upper to the lower holes.
- Set the magazine DrawerBox™ shell beside the long or short DrawerBox you wish to connect it to, positioning it flush with the front or back depending on your preference.
- Place a pencil through the adjoining holes in the long or short DrawerBox and make marks on the vertical lines to indicate where the new holes need to be located.
- Using a funnel on the inside of the magazine shell to protect your hand, drill a hole at the marks you have made along the lines. This will provide you holes at the correct height.
- Insert the Boxlox Box Anchors through the holes in all 4 corners as you normally would.
- Note that the height of the holes on the magazine shell will vary for each level. It is necessary to repeat the above steps individually as you stack each DrawerBox on top of the one below.

Introducing the new DrawerBoxes by The Collection Drawer Co., a groundbreaking storage solution for comic books and collectibles. These innovative boxes provide efficient space utilization and convenient organization for extensive collections. Optional BoxSort™ Rails are available for enhanced sorting capabilities. Perfect for collectors in search of simplified storage solutions.
QUICK LINKS
© Copyright 2024 All Rights Reserved | The Collection Drawer | Designed by Lingows